Beginner Tutorial
Thank you for installing Mailway Mail Merge add-on. Ready to send your first mail merge campaign ?
Follow this step-by-step tutorial to send your very first mail merge campaign directly from Google Sheets.
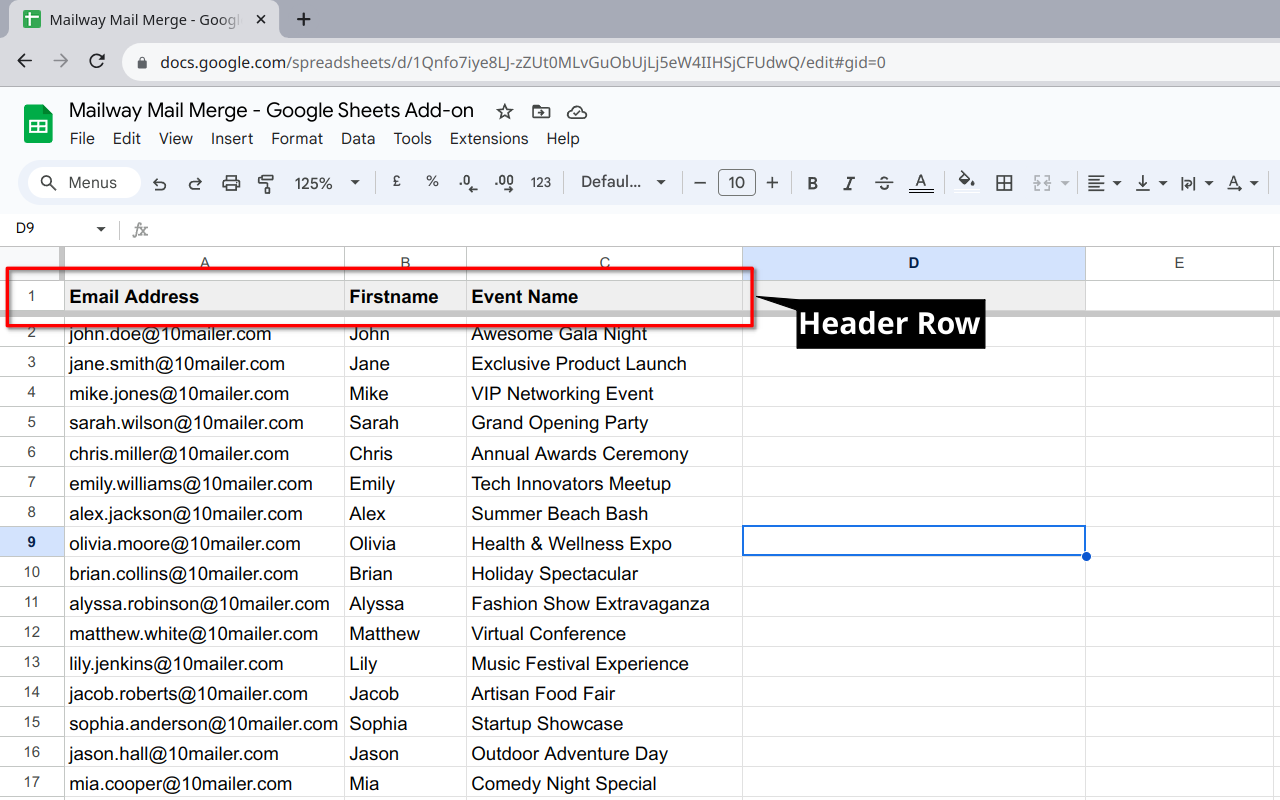
Step 1: Prepare contact list in Google Sheets
The first step is to prepare your contact list in Google Sheets. You can use your existing email list or prepare a new list.
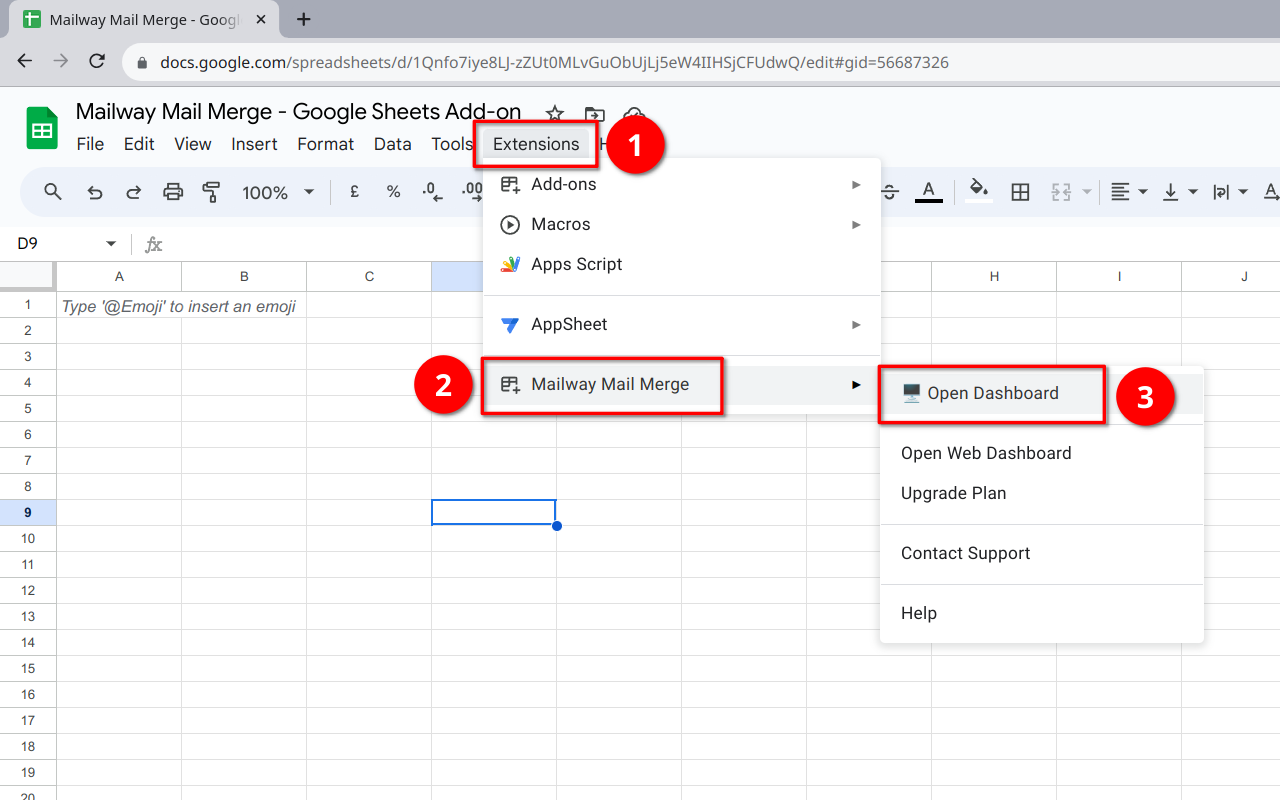
Step 2: Open Mailway Mail Merge add-on
From Google Sheets menu, go to Extensions > Mailway Mail Merge > Open Dashboard.
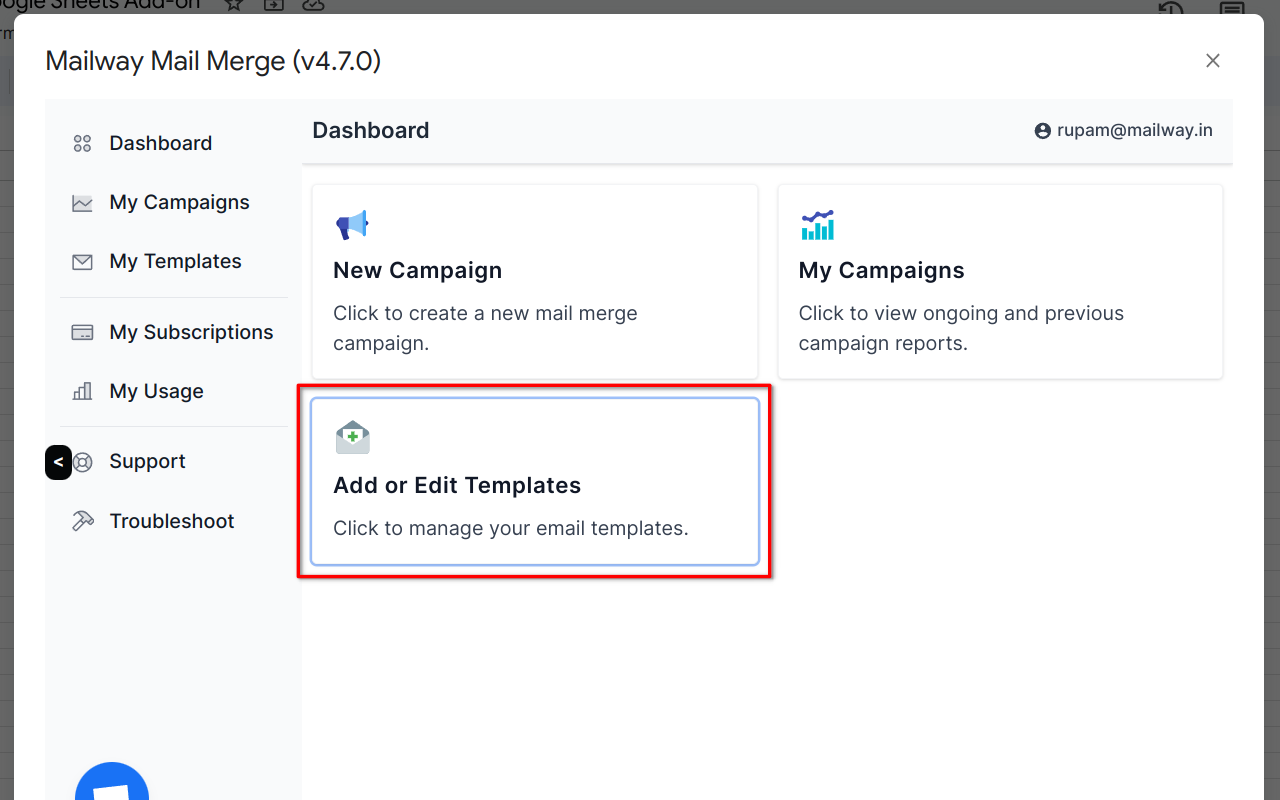
Step 3: Prepare an email template
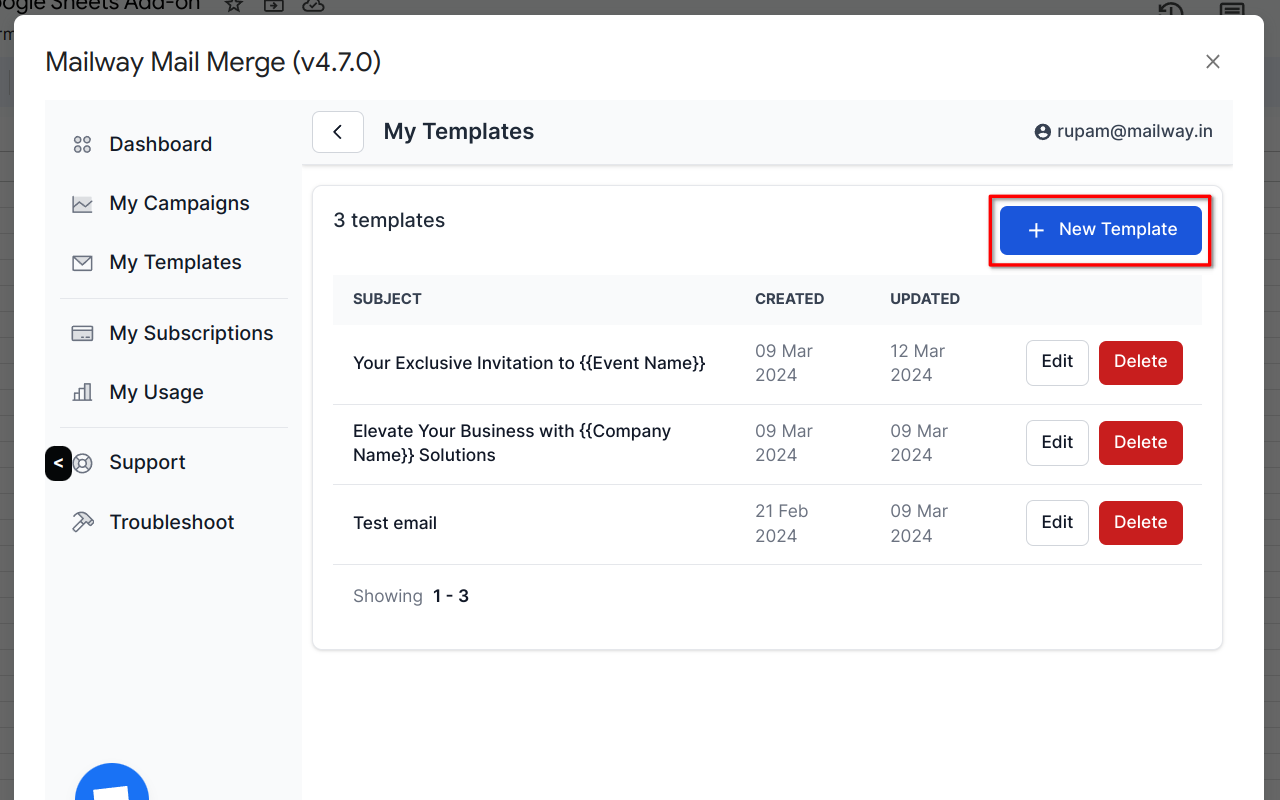
Before we could send the email campaign, we need an email template. Click on Add or Edit Templates.
Next, click on New Template button.
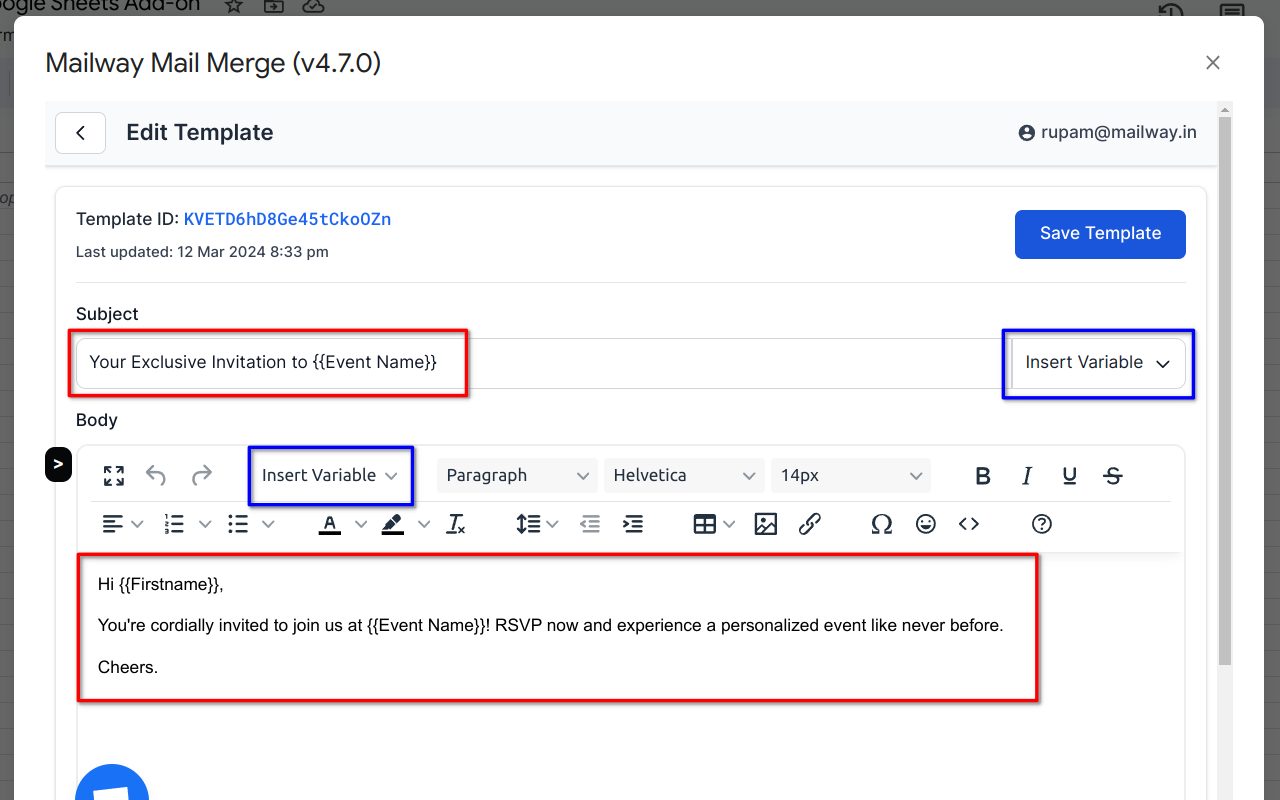
In the Edit Template page, enter the Subject and Body of the email. You can use the Insert Variable options to insert Variables into both subject line and body of the template.
Next, click on Save Template button to save the email template.
Step 4: Create a new campaign
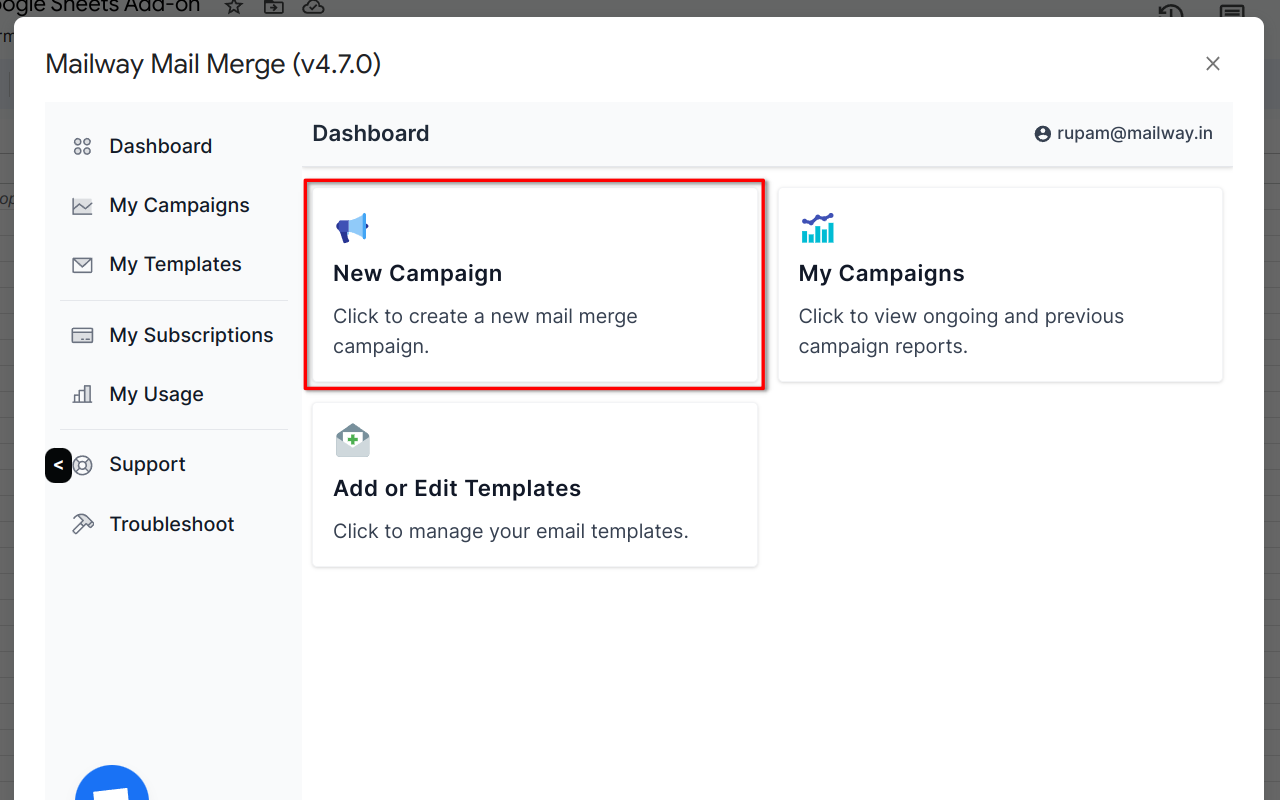
Go to Dashboard and click on New Campaign.
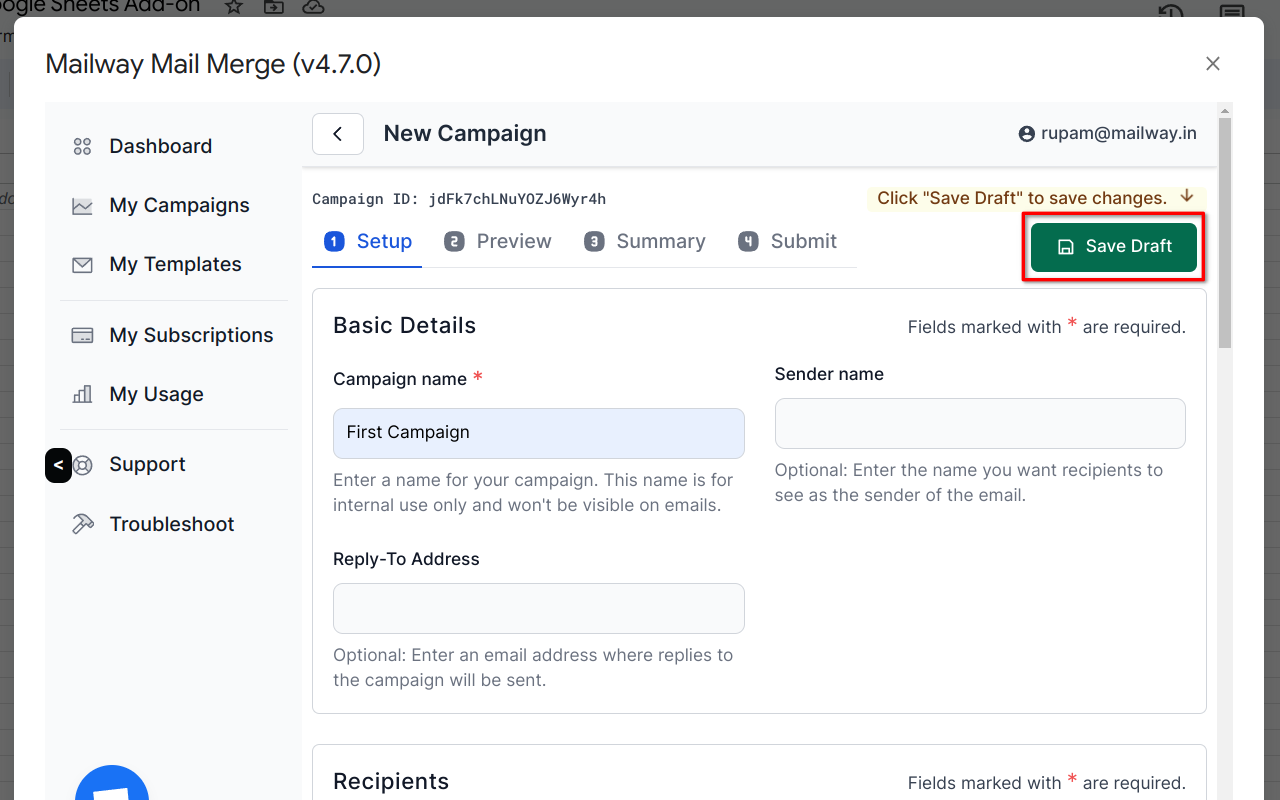
Step 4.1: Enter basic details
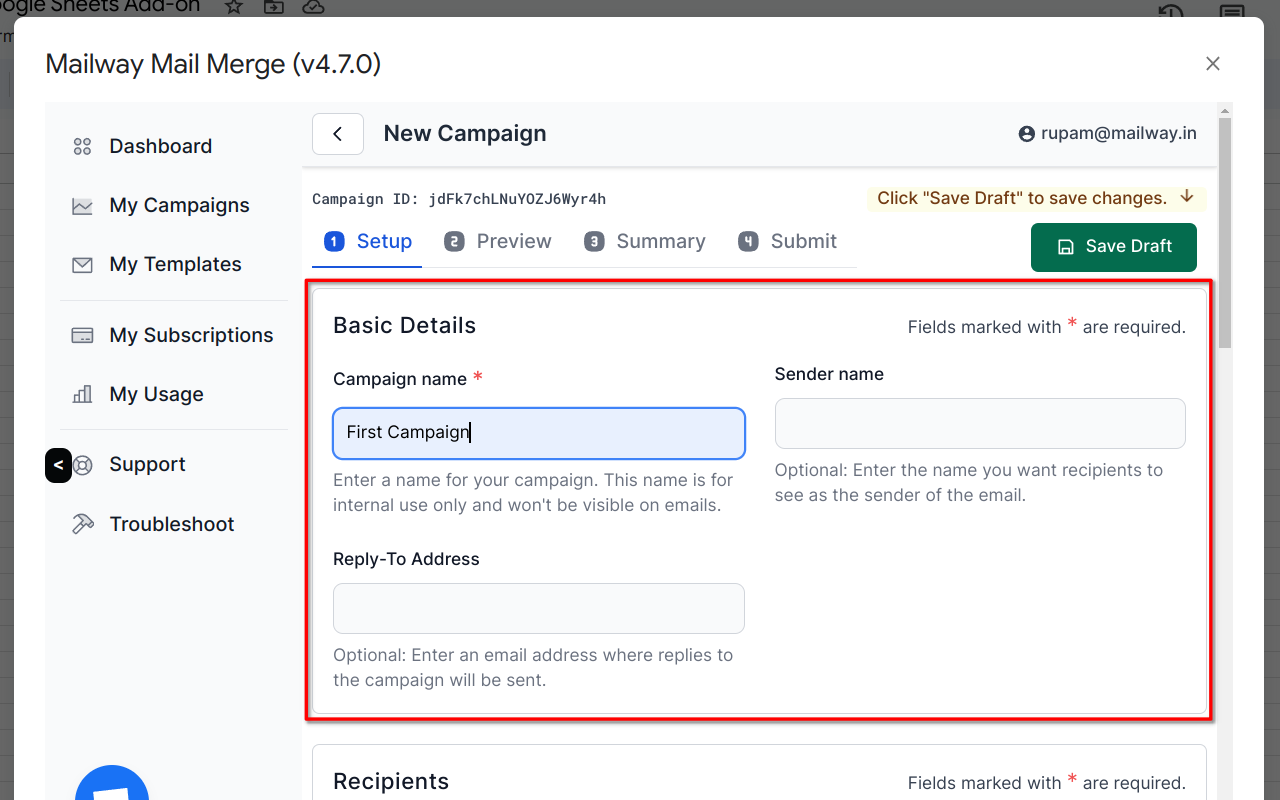
In the Basic Details section, enter a Campaign Name. Optionally, you can enter Sender Name and Reply-To-Address.
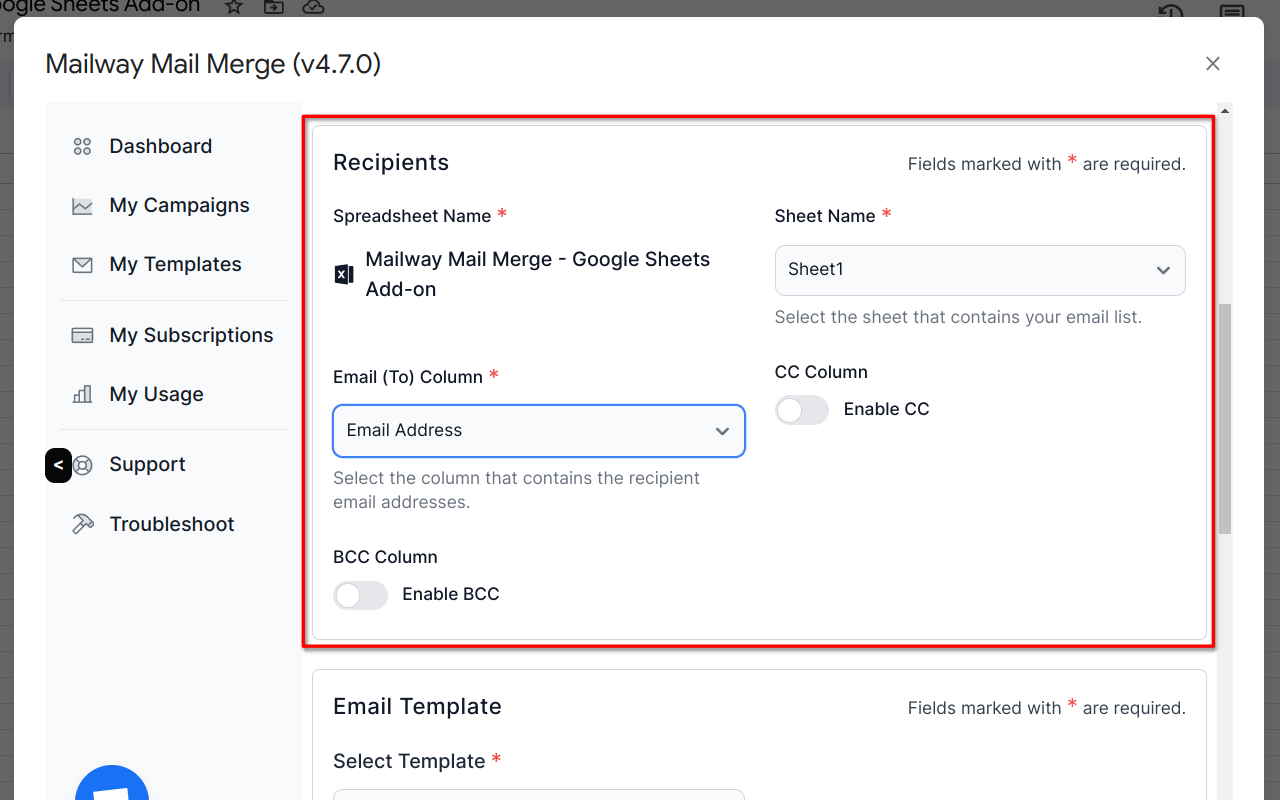
Step 4.2: Select Sheet and Email Address column
In the Recipients section, the current spreadsheet will be shown by default. Select the Sheet Name (where your contact list is) from the dropdown.
Next, wait for it to load the column names from that sheet and select the Email (To) Column (the column that contains the recipient emails addresses) form the dropdown.
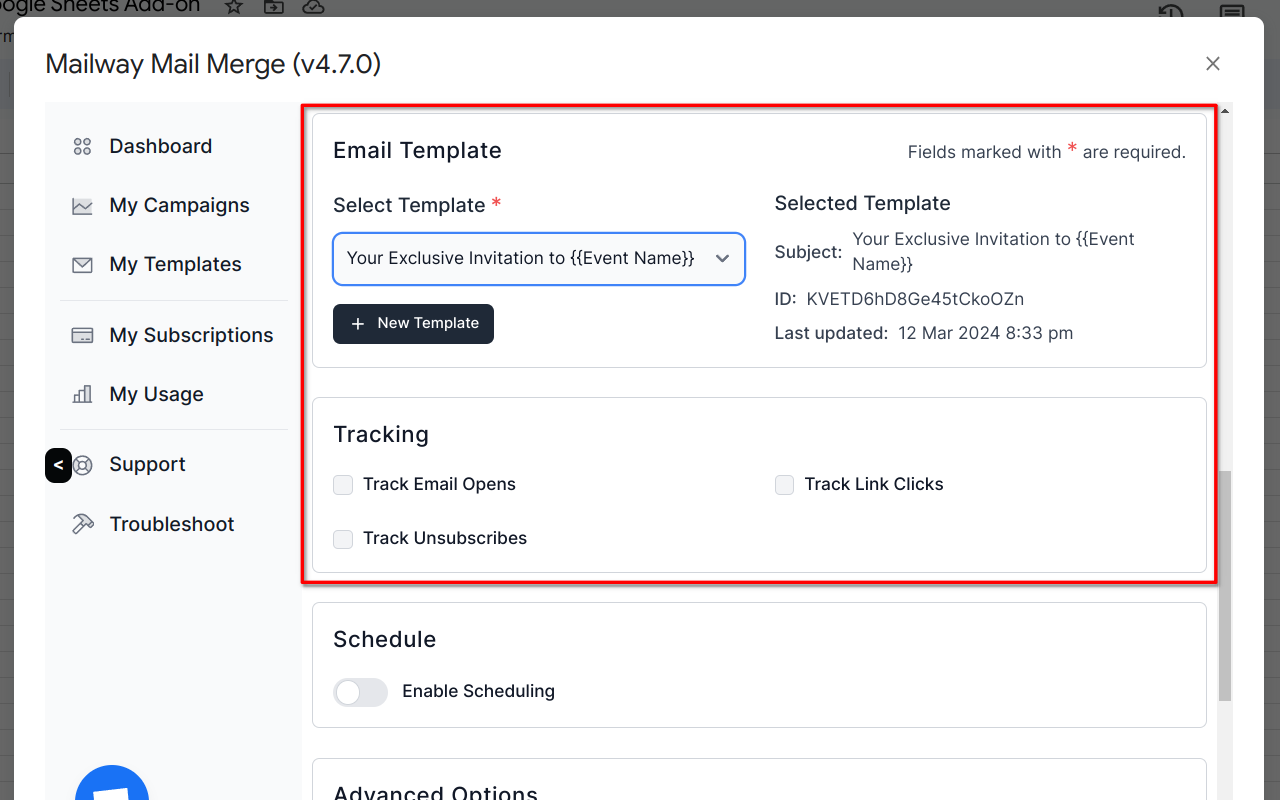
Step 4.3: Select Email Template
In the Email Template section, select the email template that we created in Step 4.
Step 4.4: Save the Campaign as Draft
Scroll to the top and click on Save Draft button. This will only save the campaign as draft and will not start it.
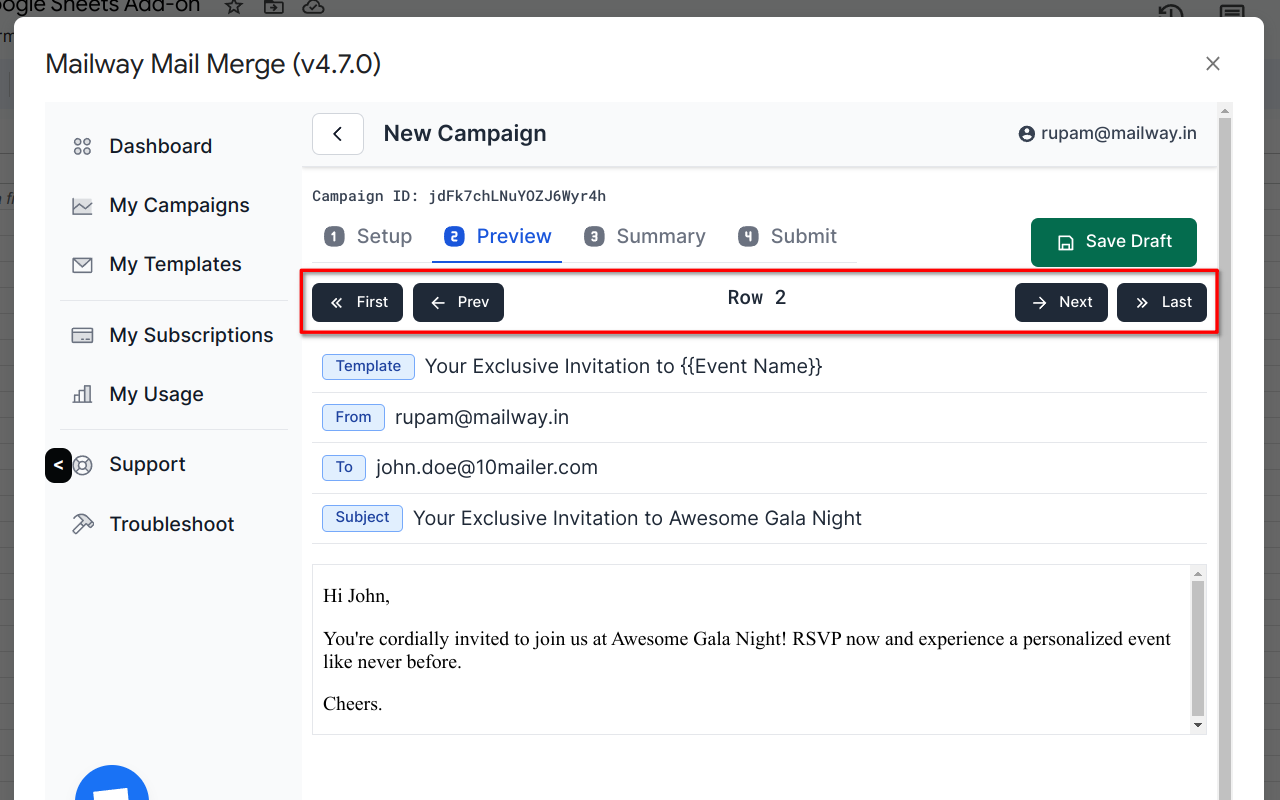
Step 4.5: Preview the emails
Go to Preview tab to preview the emails. Use the Next and Prev buttons to cycle through rows.
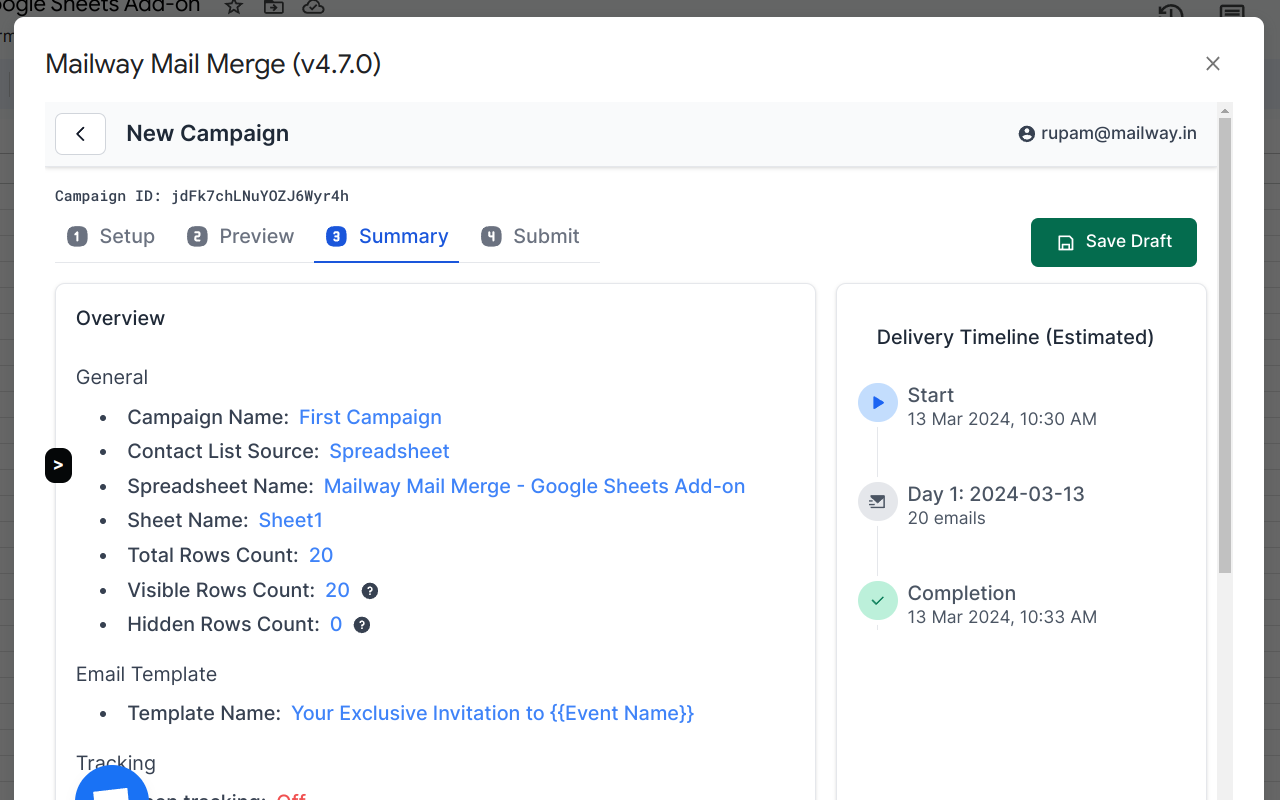
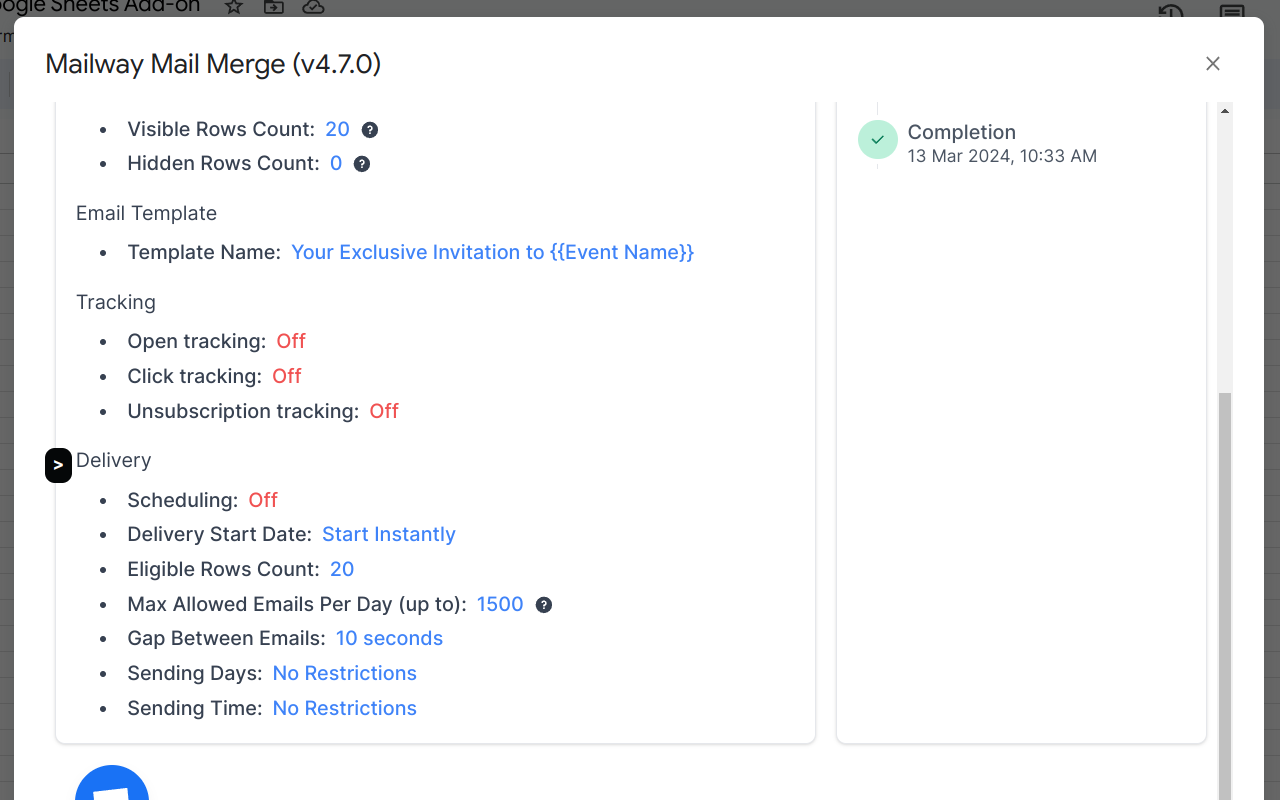
Step 4.6: View campaign summary
Go to Summary tab to view the overview and email delivery timeline.
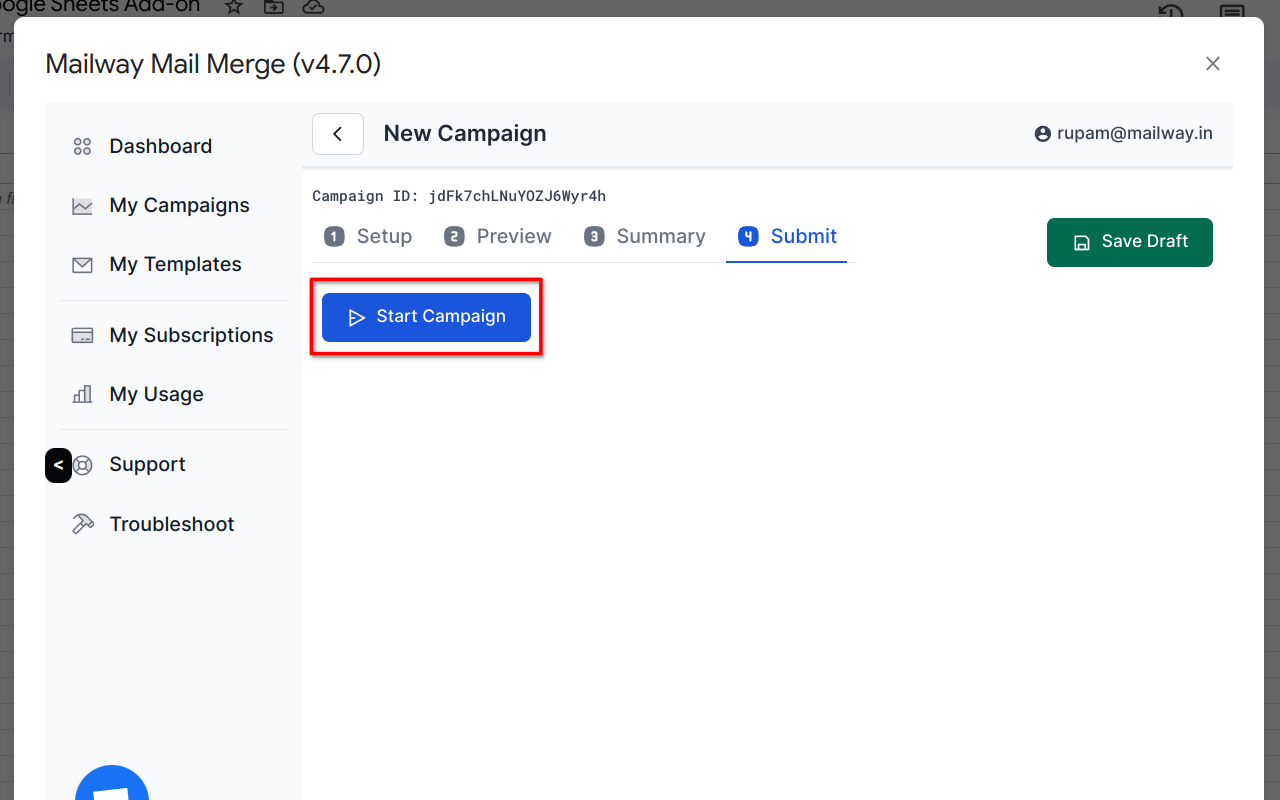
Step 4.7: Start the campaign
Finally, go to the Submit tab and click on Start Campaign.
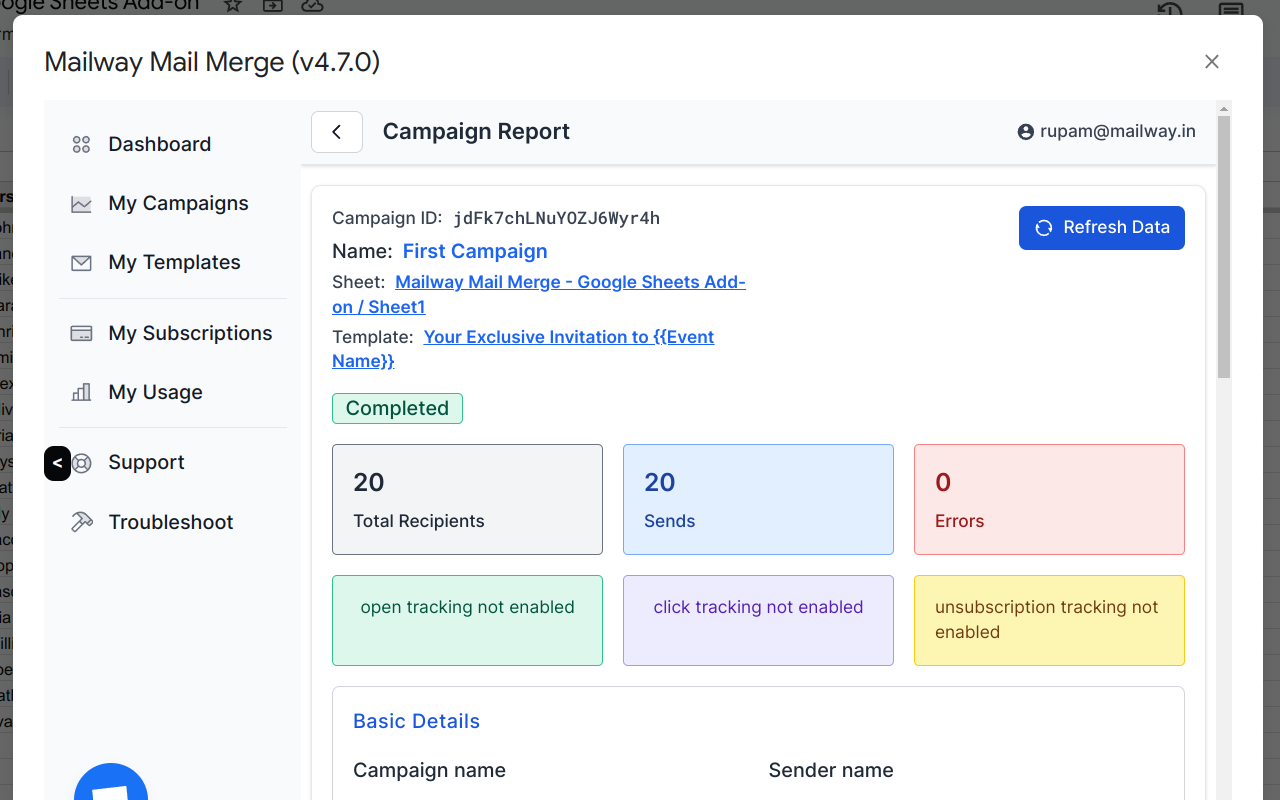
Step 5: Track campaign progress
After you submit the campaign, it would automatically open the Campaign Report page. Click on Refresh Data once every 10 seconds to see updated progress.
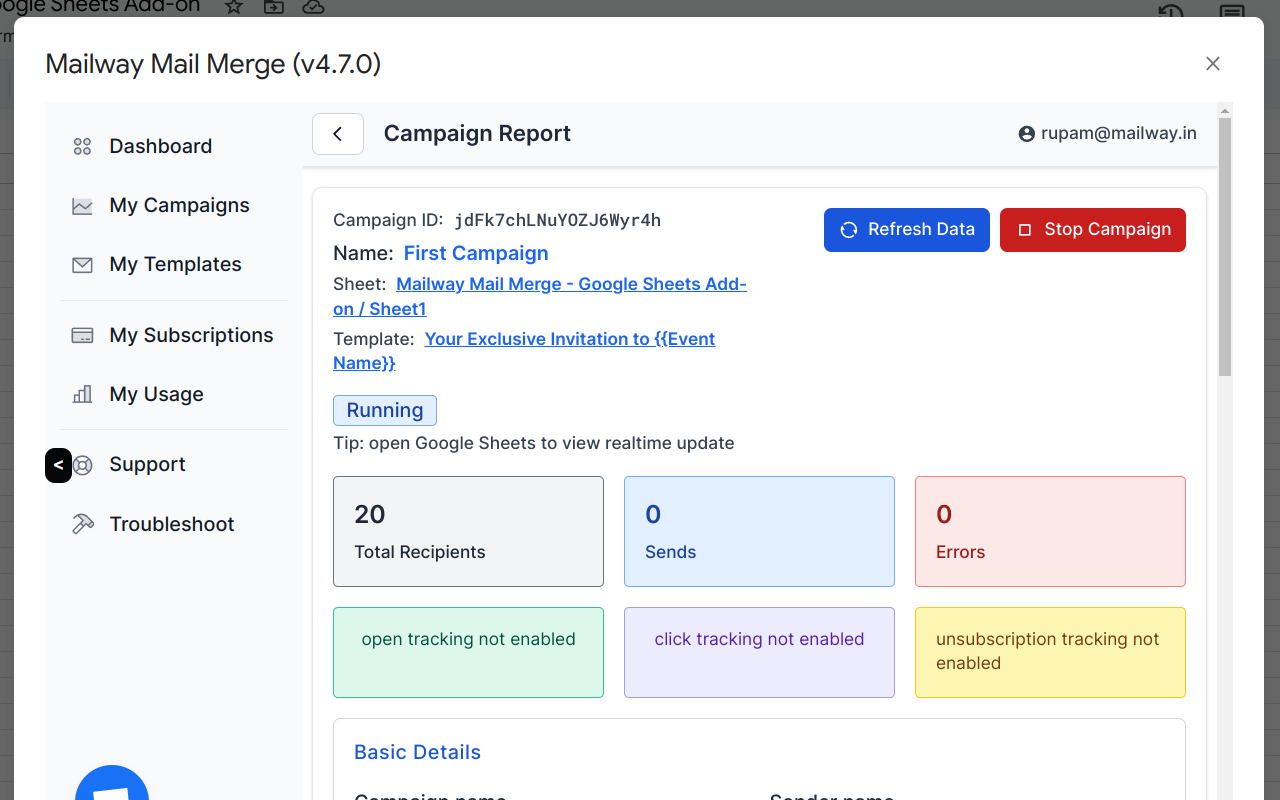
You can open the Sheet in a new tab to view realtime update directly from Google Sheets.
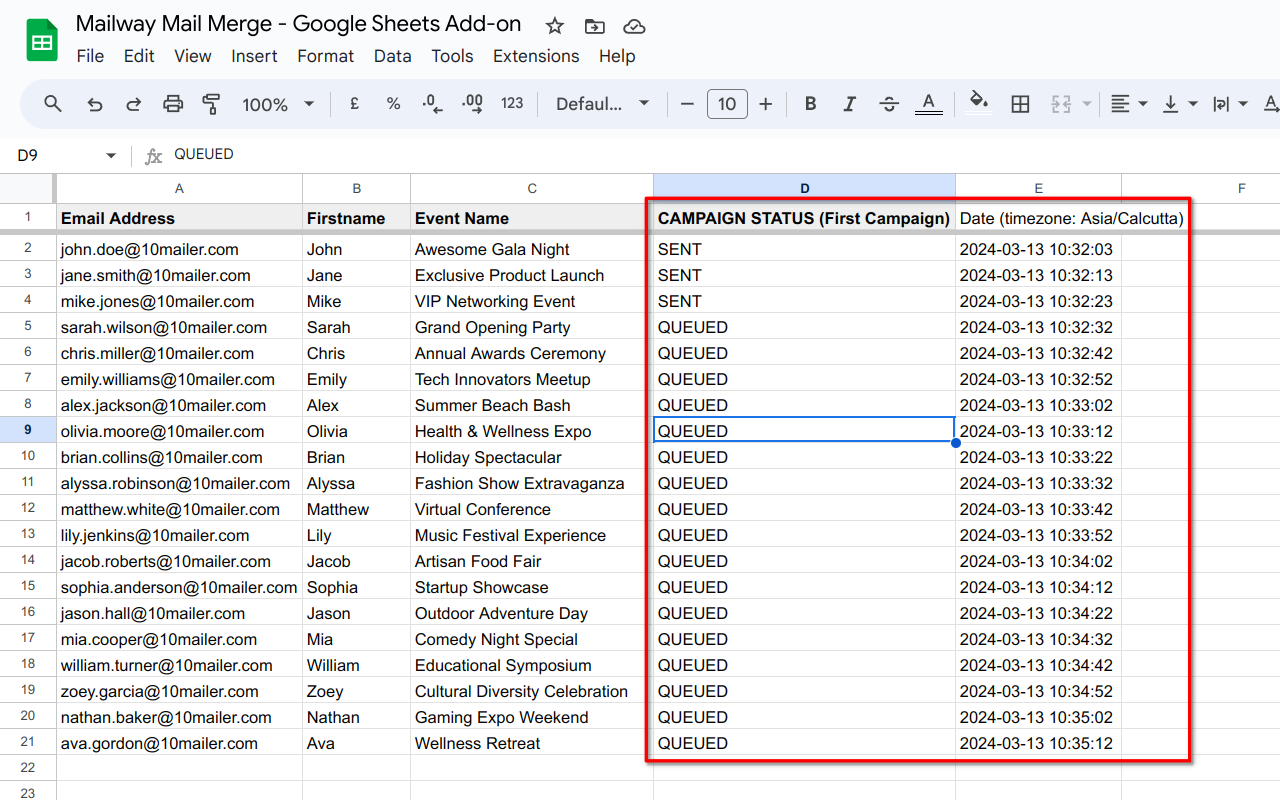
Once all the emails are sent, the status would be changed to Completed.